Installing home security cameras is a practical step towards enhancing your home’s safety. Proper installation and setup are crucial to ensure optimal coverage and functionality. This guide will walk you through the essential steps to get your home security system up and running.
Planning Camera Placement: Before installing anything, it’s important to plan where your cameras will be placed. Consider the following: Entry Points: Install cameras above or near doors and windows, especially those that are hidden from street view. High Traffic Areas: Common areas like living rooms and hallways are good spots for indoor cameras. Perimeter Coverage: Ensure outdoor cameras cover your property's perimeter, including the front yard, backyard, and sides of the house.
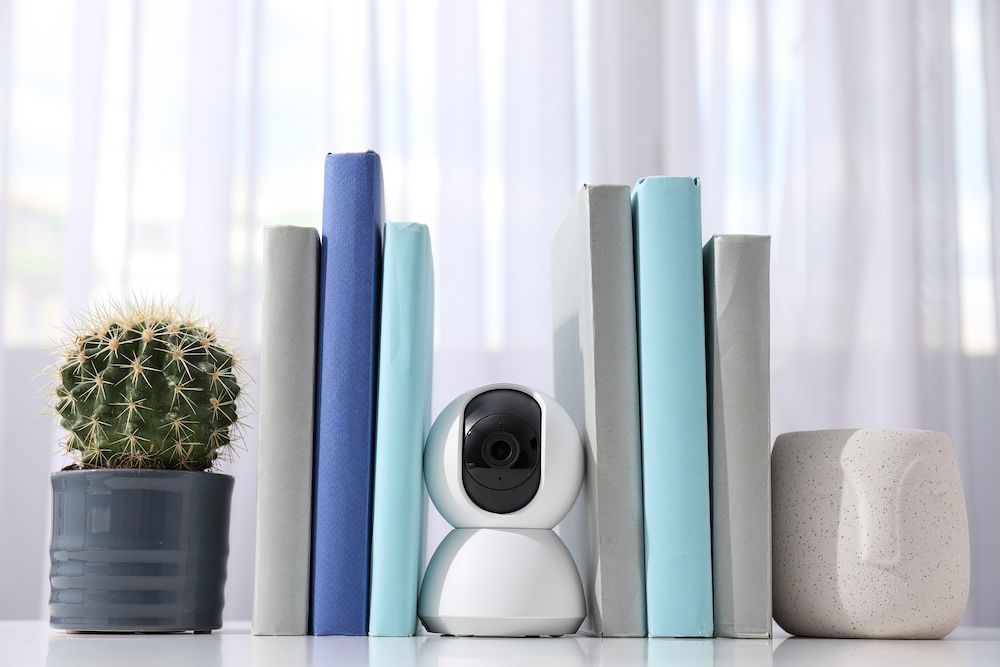
Choosing the Type of Cameras: Decide on whether you need wired or wireless cameras based on your specific needs: Wired Cameras: Offer reliable connectivity. Plan how you will route cables from the cameras to the power source and recording equipment. Wireless Cameras: Provide flexibility in placement. Ensure your Wi-Fi network has adequate coverage and strength where cameras will be installed.
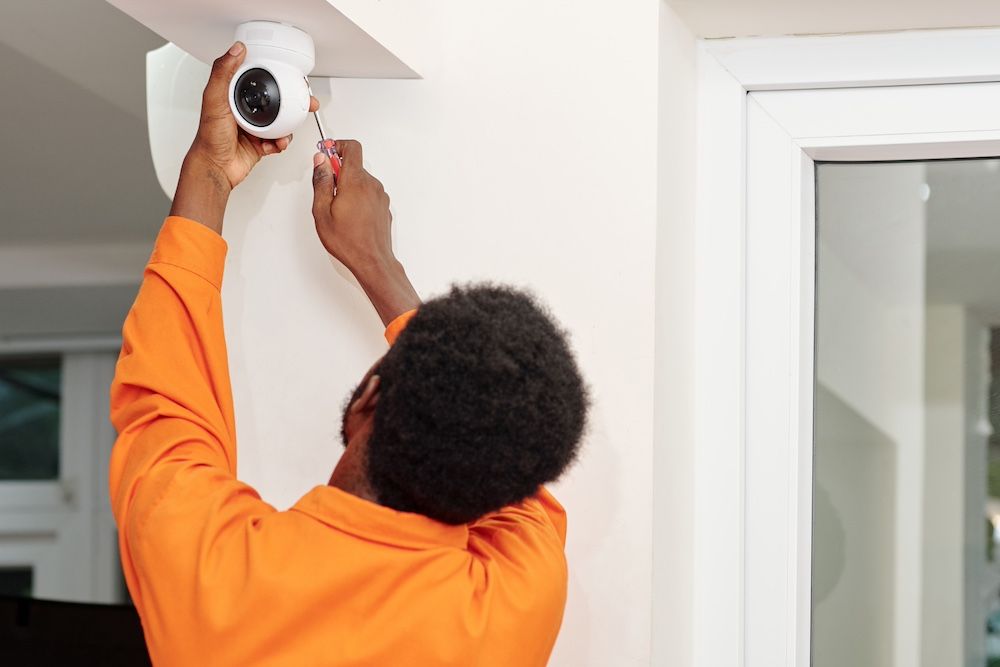
Installation Process: Follow these steps to install your cameras: Mounting the Cameras: For outdoor cameras, mount them high enough to prevent tampering but within reach for maintenance. Indoor cameras should be placed at a height that provides a broad view. Routing Cables: For wired systems, route cables from the camera to the power source and DVR/NVR without leaving wires exposed to potential damage or tampering. Securing the Cameras: Ensure all cameras are securely mounted and protected from potential environmental damage. Use weatherproof mounts for outdoor cameras.
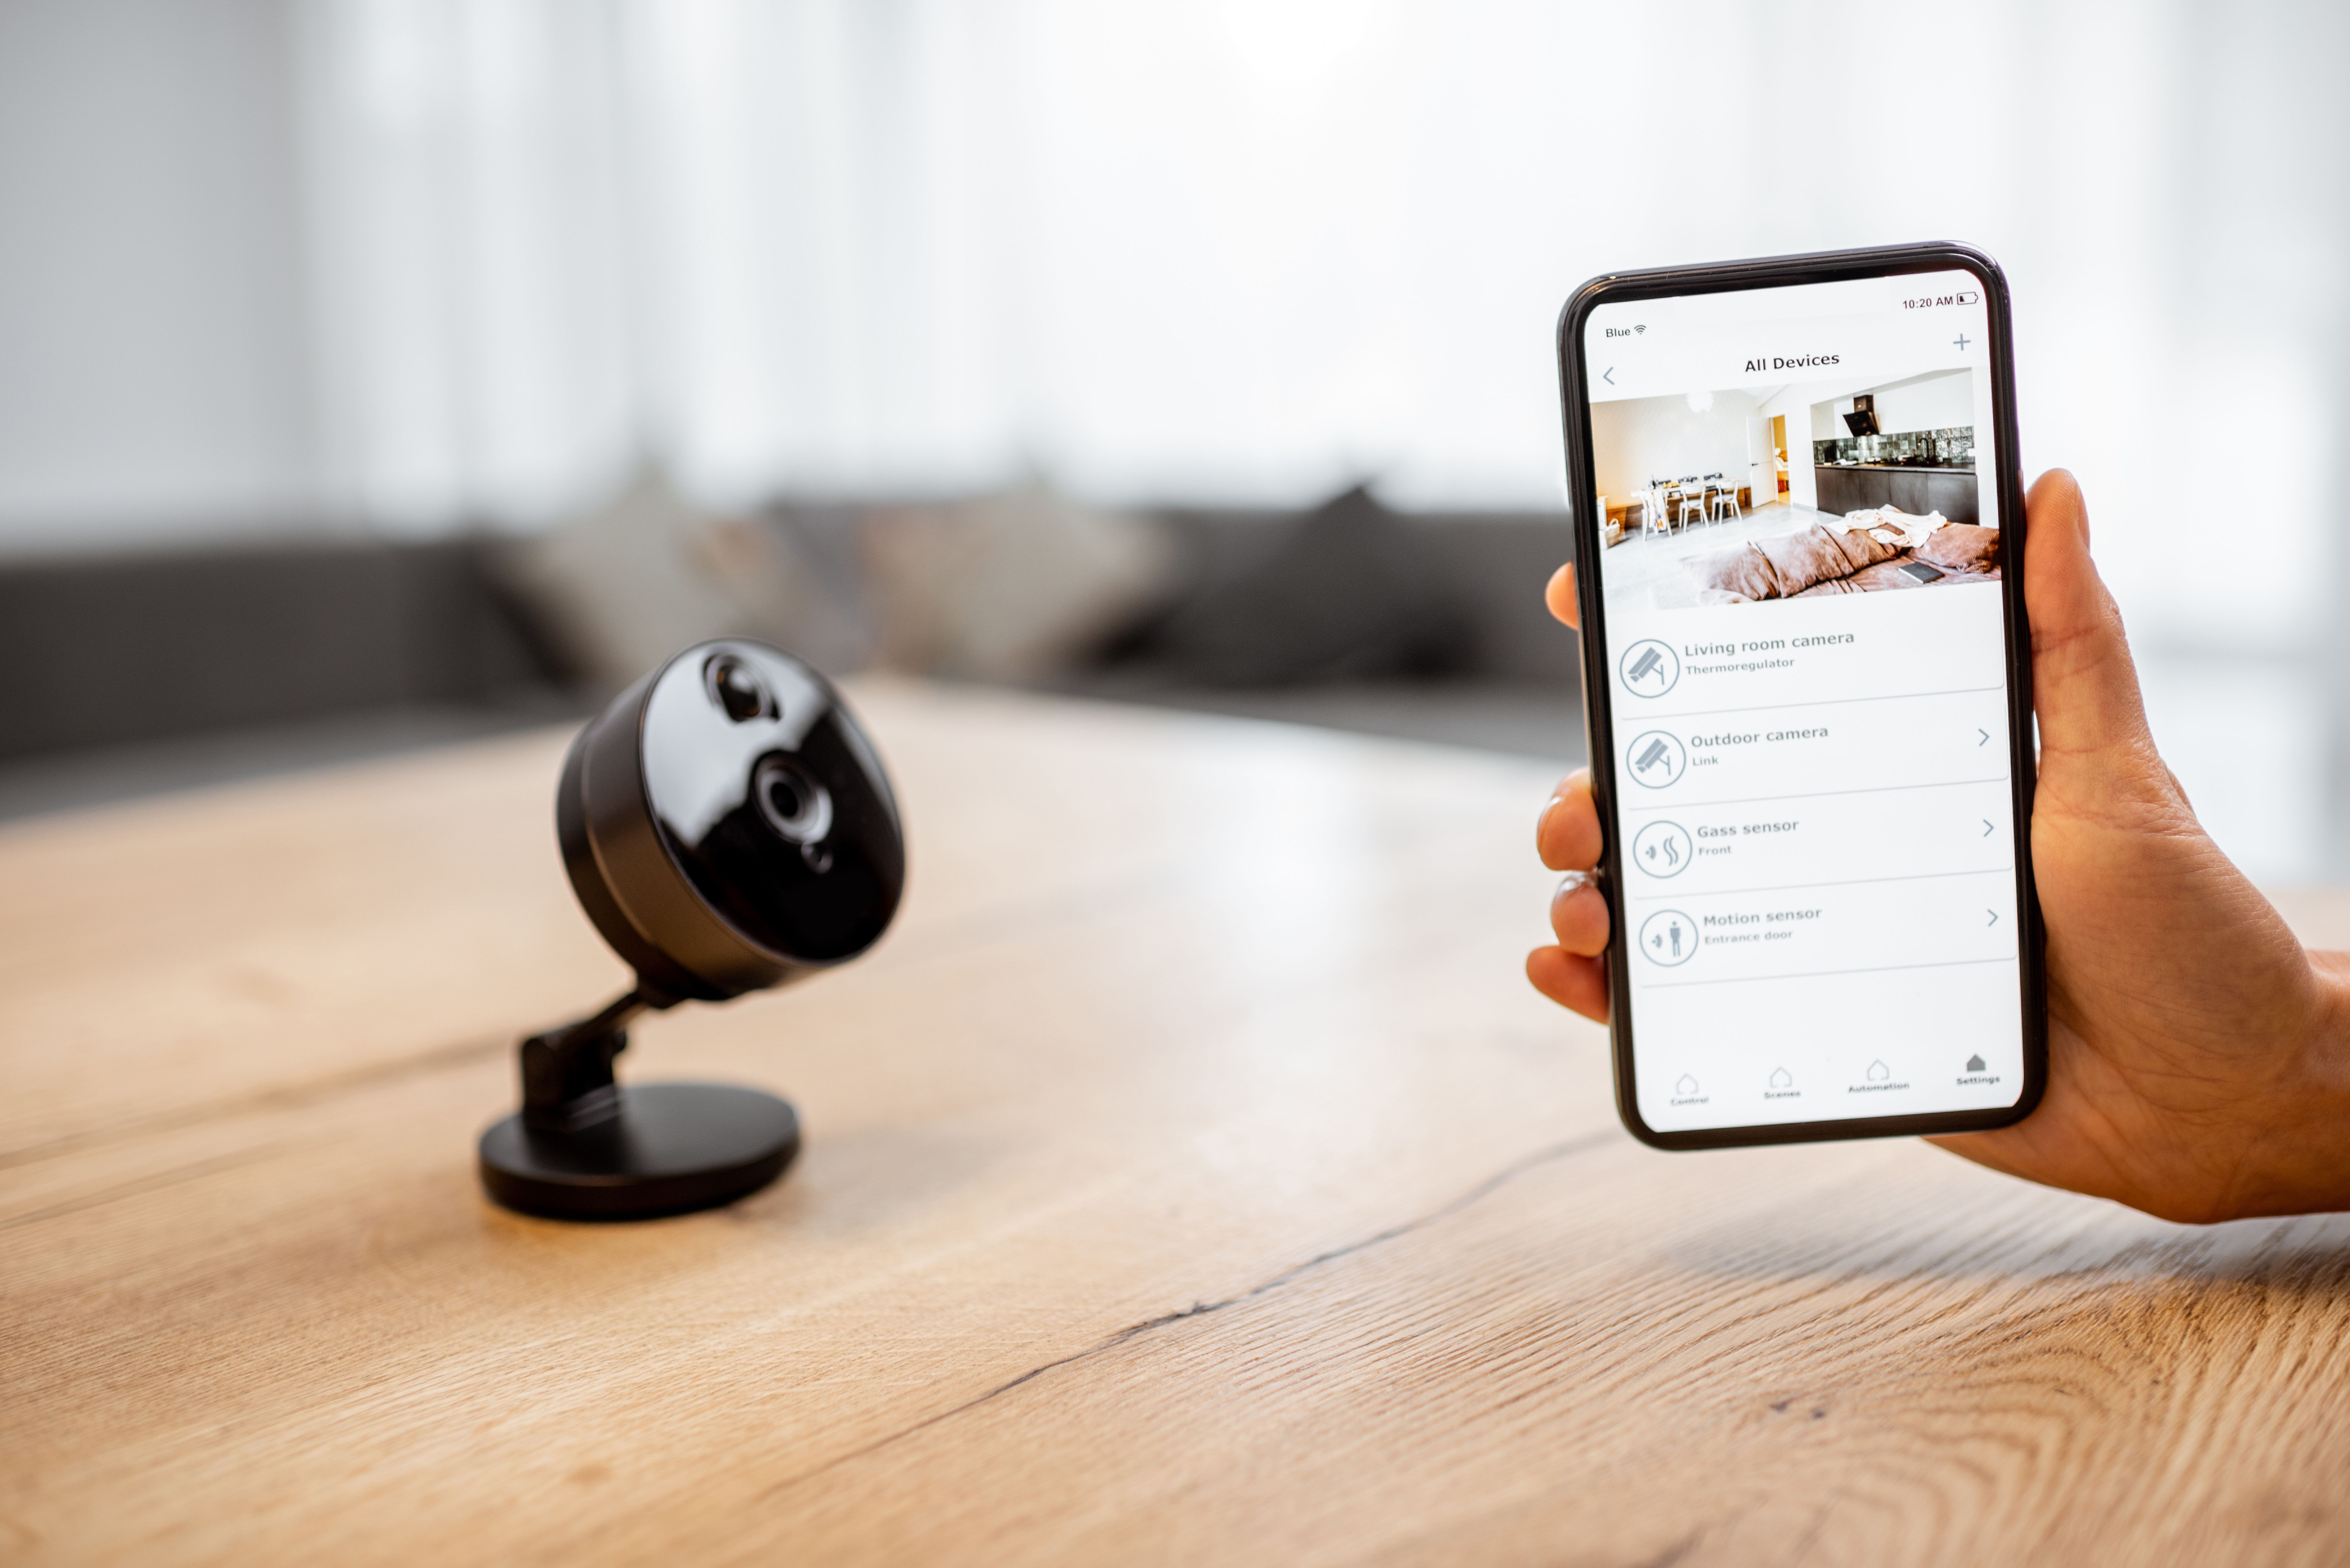
Setting Up and Configuring Cameras: Once installed, set up and configure your cameras by following these steps: Connecting to Power: Connect your cameras to the power supply. For wireless cameras, ensure they are charged or have reliable battery life. Syncing with Your Network: Connect your cameras to your home Wi-Fi network. For wired cameras, connect them to your DVR/NVR system. Software Installation: Install any necessary software or apps on your smartphone, tablet, or computer to access the camera feed. Configuring Settings: Adjust settings such as motion detection sensitivity, recording schedules, and alert configurations to suit your needs.
Testing the System: After installation, thoroughly test each camera to ensure they are working correctly and covering the intended areas. Check the quality of both daytime and nighttime recordings, adjust the camera angles if necessary, and ensure all motion alerts and notifications are functioning properly.
Installing and setting up home security cameras can significantly enhance your home’s security by providing continuous surveillance and alerts. By carefully planning the placement, choosing the right type of camera, and following through with a detailed setup, you can ensure that your property and loved ones are well-protected.